How to Make Branded Embroidery Hoop Butts
Featuring Product Packaging from Seaside Fox
Pretty Packaging Series #6

Hi + welcome to the 6th project of a 9-part series of something I am SUPER passionate about: inexpensive + Quick DIYs for beautiful Branded Packaging!
One thing I have learned through my 9+ years of small business branding: simplicity. is. always. best!
Simple, Bold branding & packaging says: "my work speaks for itself!"
So I have set out on a mission - with beautiful logos from some awesome creatives - to create simple, bold (also: inexpensive and fast) packaging ideas to inspire you. I want you to proudly send off your work in a way that will make your brand shine bright & really wow your clients.
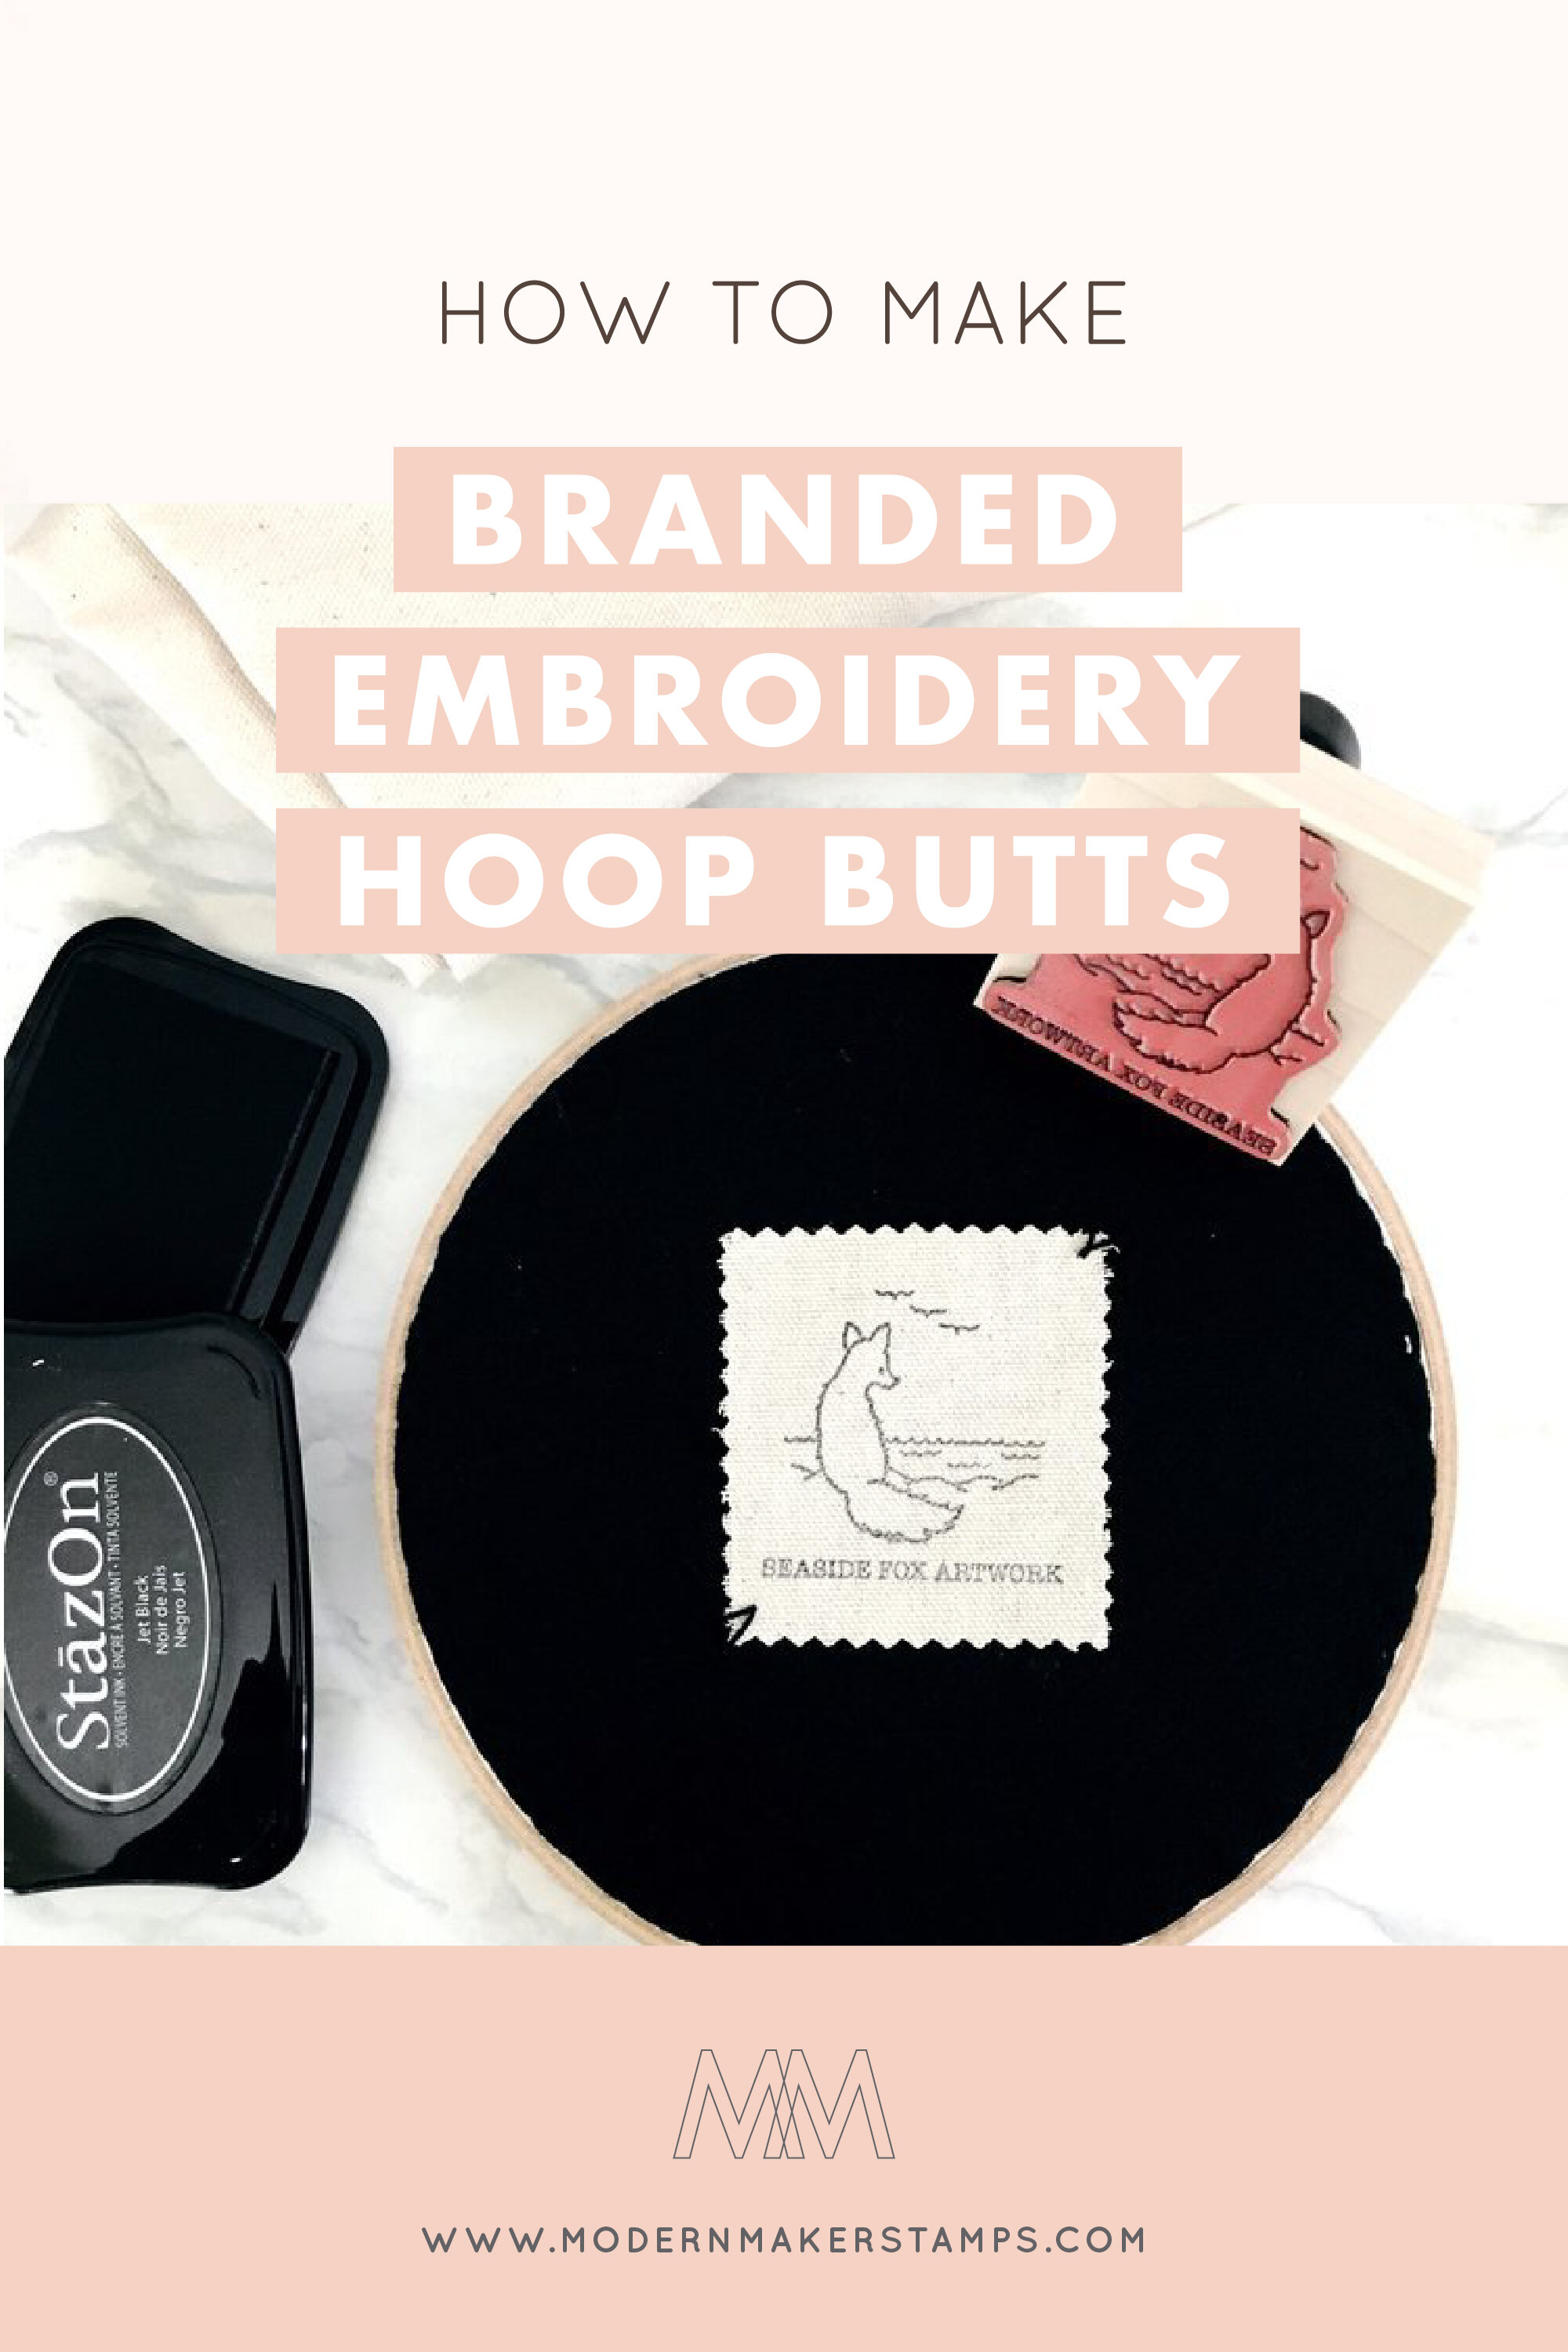
So here we go with part six… Branded Embroidery Hoop Butts
Project #6: Branded Hoop Butt
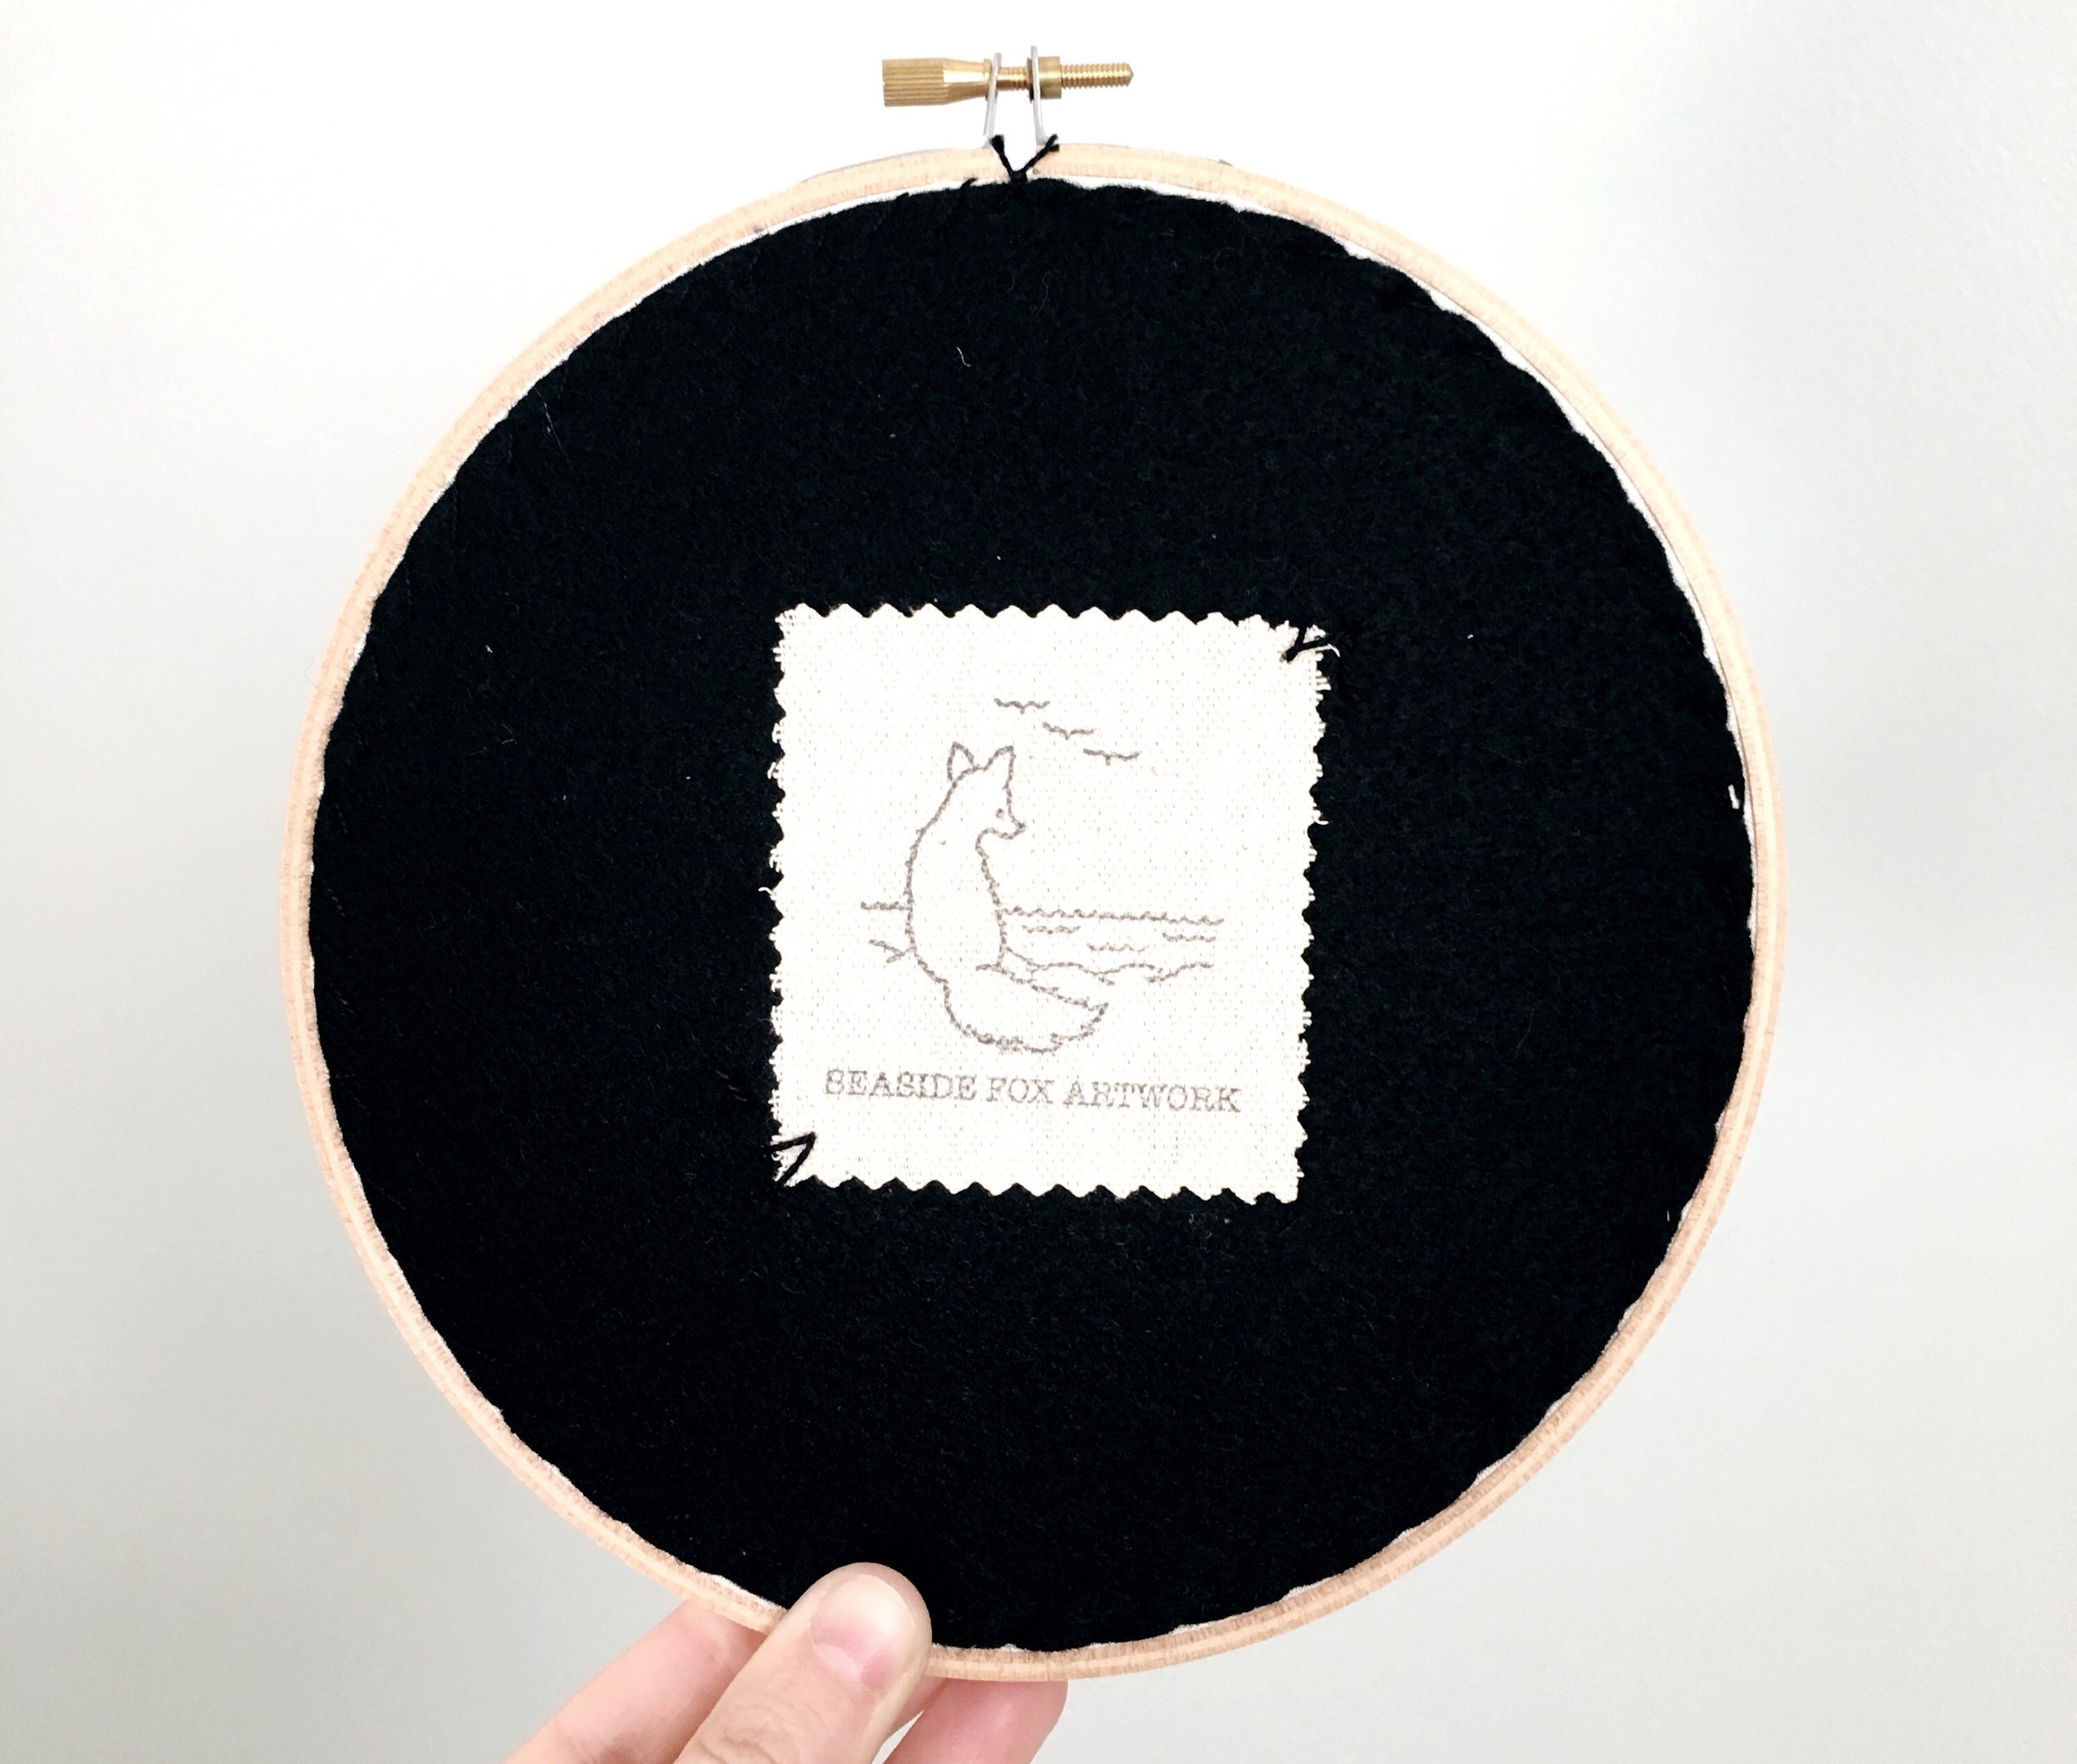
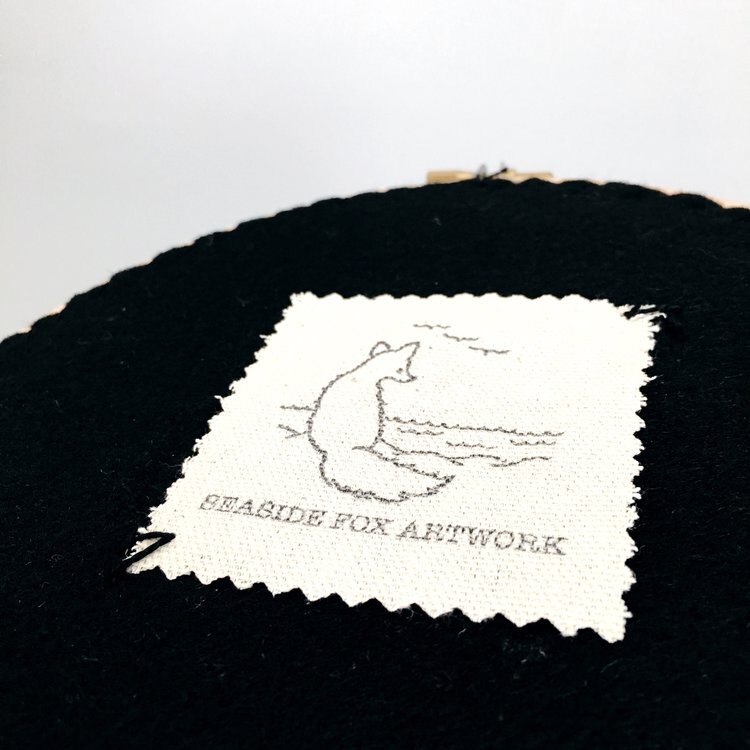
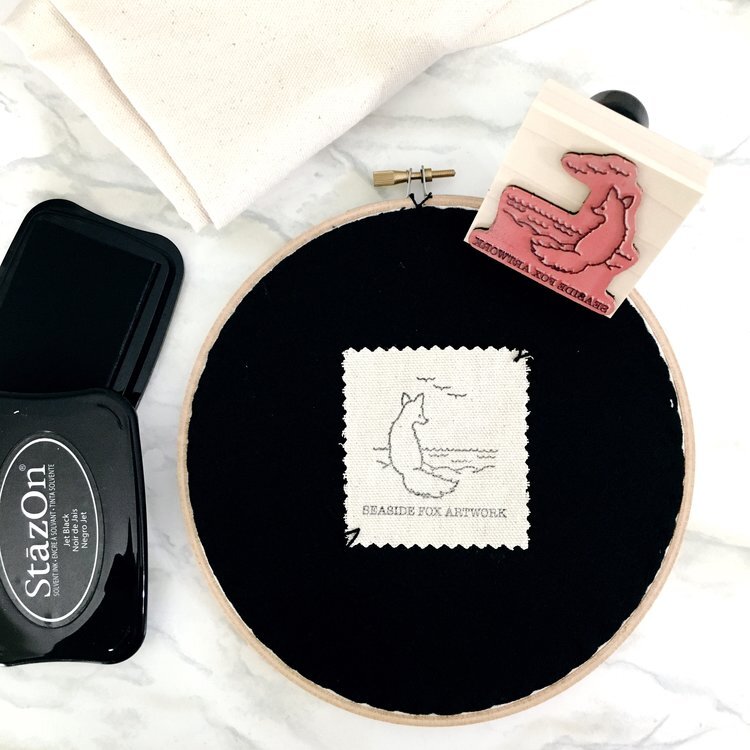
Some of you might know that my favorite "side hobby" when I have "free time" is embroidery. So I know that when you stitch up something beautiful, it feels pretty awesome to back it and brand it to make it a really complete, representative-of-all-the-hours-spent piece! (Side note: a hoop butt is the back part of am embroidery hoop)
And let me just tell you -- Seaside Fox Artwork is a HUGE inspiration to me, so I was honored to get to work with her logo for this next project!
Supplies*:
Fabric (I used canvas duck + felt)
Note: I made this stamp for Seaside Fox Artwork using a high-resolution photo of her actual stitching! How cool is that! If you have a design you really love to stitch, stitch it in black thread on white fabric + take a great photo of it and I am happy to make one for you too :)
StazOn Ink Pad, Black
Your embroidery, in its hoop
I said these projects would be simple and I promise they are truly simple. Here are the steps, if you haven't already guessed them.
HOW TO MAKE:
Trace the circle of your hoop onto a piece of felt; cut and stitch onto the back of your hoop.
Print your logo onto a lighter piece of fabric.
Cut it out with pinking shears (If you'd like to machine-stitch it so it doesn't fray at all, that's cool too) and sew it carefully to your felt, being careful not to go through to the other side with your needle.
That's it! Your embroidery is ready to wow: who said fast can't be fabulous?
Some Extra Notes for you, Awesome Super-Thorough Reader:
If you're worried about sewing without poking through, you can also stamp directly on a lighter fabric and sew it directly onto the back; but will have to take extra care to keep it centered ;)
I believe branding your hoops is a *must* if you sell them at shows or online -- this way when a customer (or a guest of theirs!) admires that art on the wall, they can easily remember where they got it and come back for more!
And how about a peek from my next packaging project:
Custom Branded (Waterproof!) Tyvek Wrap


*Full Disclosure: This post contains Amazon affiliate links to products I’ve researched & believe will work best for this project. Where possible, it also includes non-affiliate links to small businesses I love.