Handmade Holidays - Custom Stamped Ribbon
When it comes to the holidays, simplicity. is. always. best!
You’re already busy, but you want beautiful packages under the tree.
You want proof of Santa, #proofofMom and you want your holidays to be a little instagrammable!
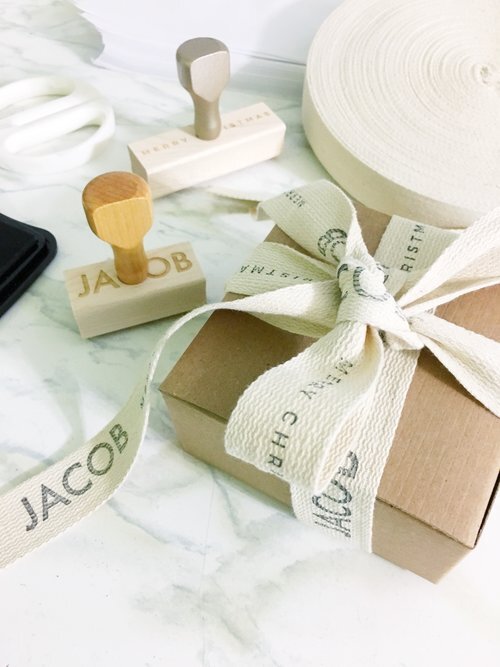
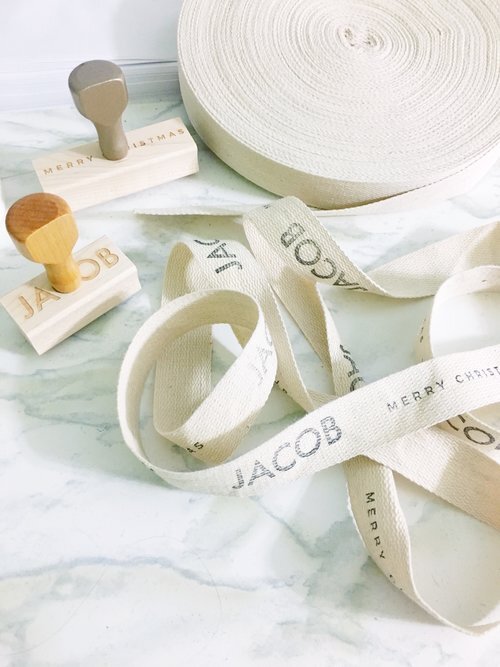
Here’s a simple project that even THIS busy Momma could handle: Custom Stamped Ribbon!
Supplies*:
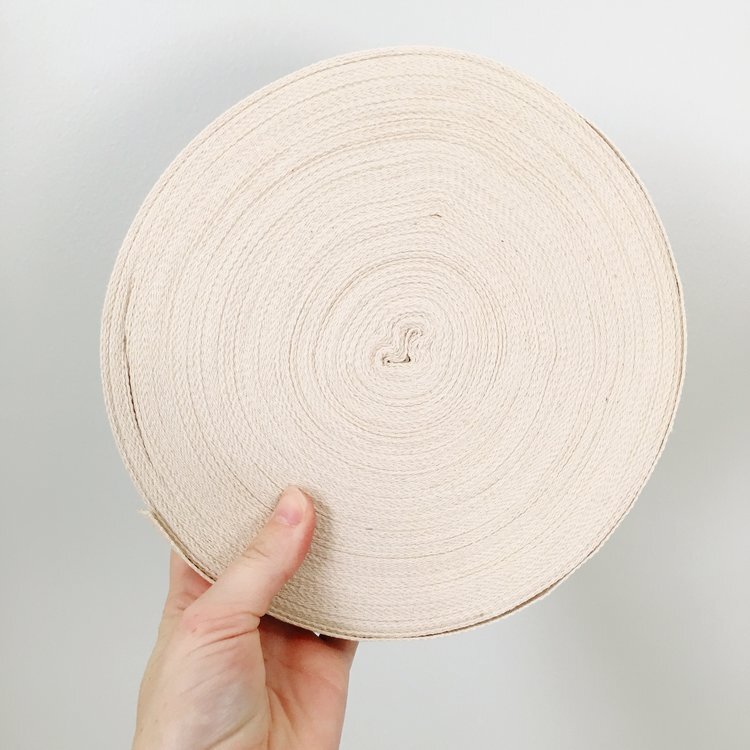
1" Cotton Twill Tape Ribbon, Natural
Two (2) Rubber Stamps:
A Simple Merry Christmas Stamp, 3”
(I’ve also got Happy Holidays etc here)A Simple Custom Name Stamp, 1.5”
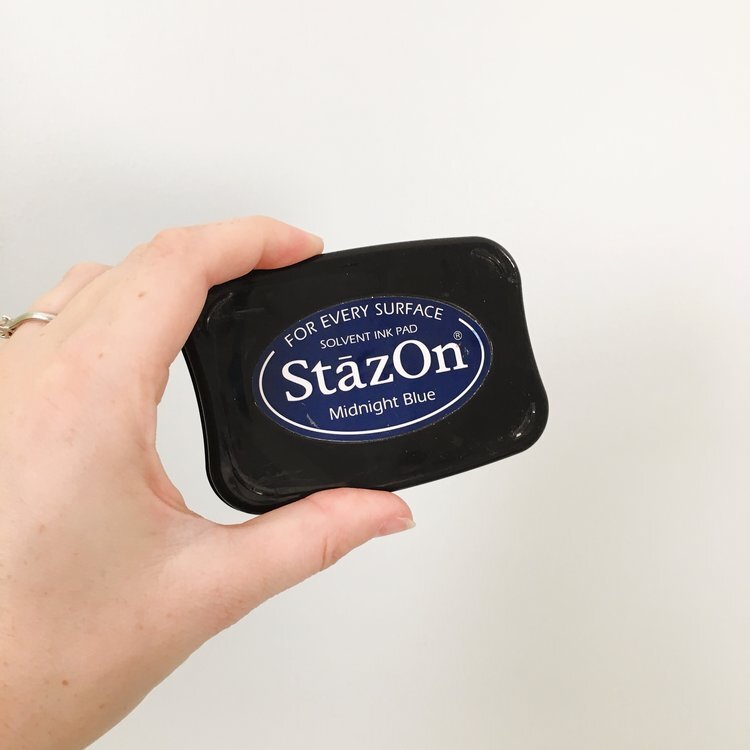
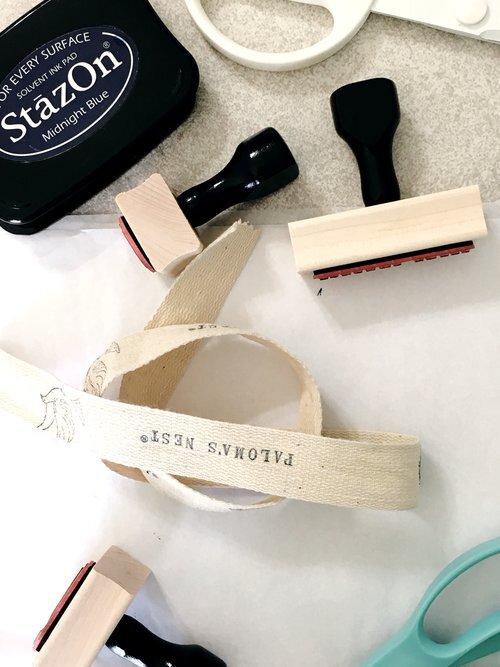
StazOn ink pad
& A box with your gift, of course.
I said these project would be simple and I promise they are truly simple. Here are the steps, if you haven't already guessed them.
How To Make:
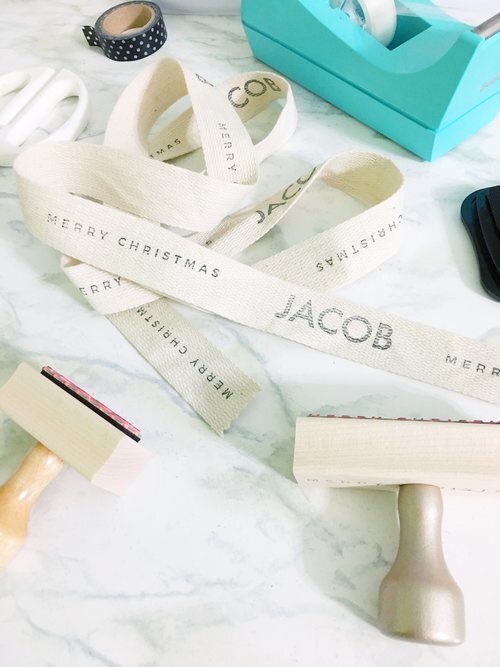
Roll out some twill tape ribbon onto a spot you don't mind getting a little inky.
Stamp all over your ribbon - I liked to space them about 2" apart.
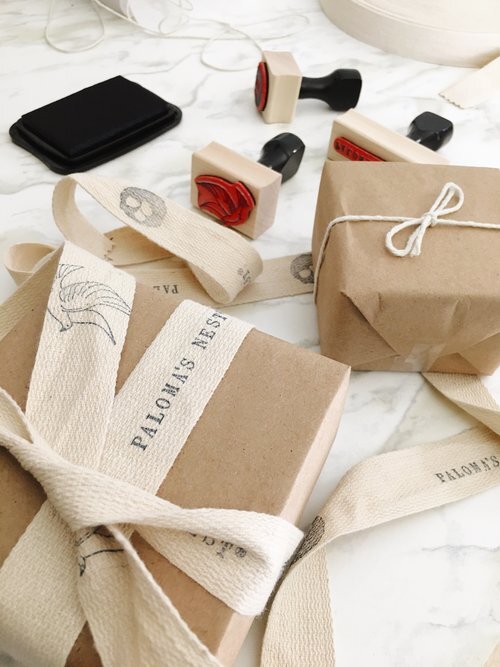
Don't worry about getting it perfect - perfect will look boring!Grab your box full of goods & wrap it up with kraft paper.
Wrap your ribbon around & tie a bow.
Trim with pinking shears if you’re feelin’ fancy.
That's it! Your sweet custom packaging is ready to gift!
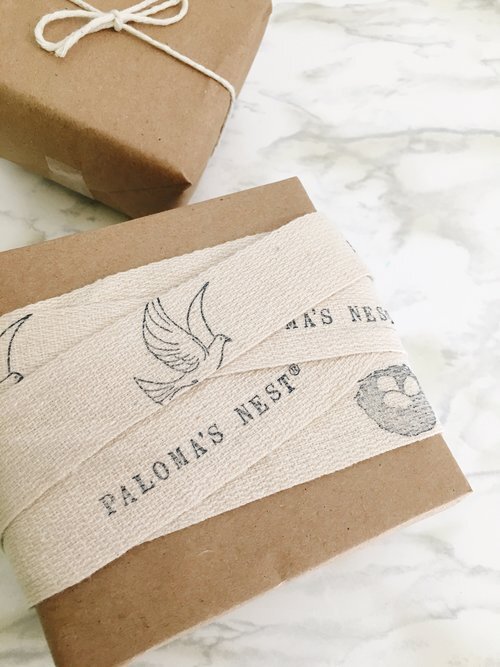
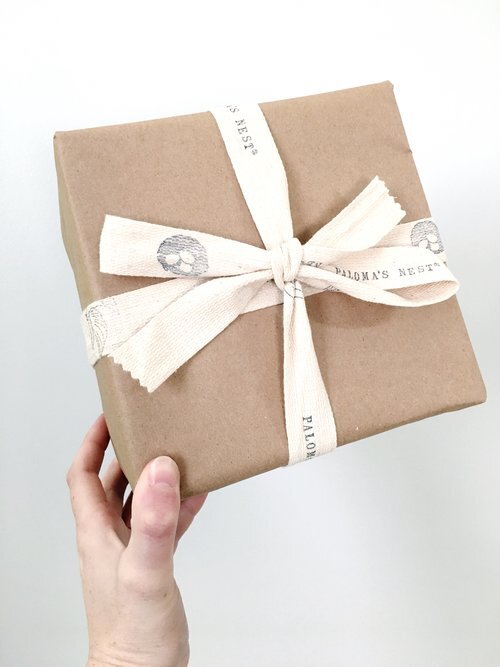
It also makes beautiful custom packaging for your brand, like this sweet custom packaging for Paloma’s Nest:
Some Extra Notes for you, Ambitious Reader of All The Words:
I also tried this ribbon with the logo stamps from this project and really loved it! The larger 2" x 2" stamp went off the edges and made a really cool effect that would match all the rest of Catie’s branding.
I love this with one sweet illustration stamp the kraft box, too, like maybe this Christmas Tree Car. Stamp your image all over your kraft paper for packaging similar to this project, really the possibilities are endless.
Thanks for reading y’all, and Happy Stamping!
* Full Disclosure: This post contains affiliate links to products I’ve researched & believe will work best for this project. Where possible, it also includes non-affiliate links to small businesses I love.


