How to Stamp on Bubble Mailers

Need to end your battle between squishy bubble mailers and your custom logo stamp?
Here’s how I brand my bubble-mailed packages:
cleanly + professionally
without getting over-inky
without wasting mailers


Supplies*:
Blank Stickers / Labels - I used the 2 1/4” x 3 1/2” size, standard white uncoated
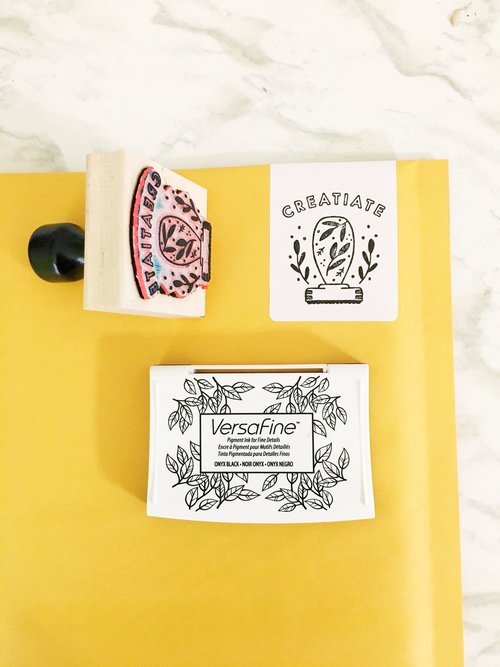
A slightly smaller Custom Logo Stamp - I used a 2” x 2” stamp
An Ink Pad - I often use StazOn in Jet Black, because it dries fast so I use it for #allthethings,
but for this one I used Versafine because it is the bomb dot com at inking small detailsYour bubble mailers - I love kraft ones & I also recommend these from EcoEnclose)
How To Make:
Grab your first bubble mailer & custom stamp.
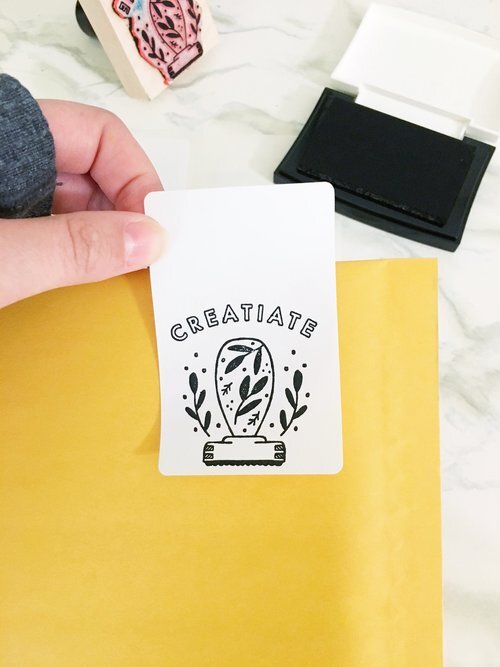
Stamp your stickers: Align the stamp toward the bottom of the sticker label, printing towards the bottom so that there is a good margin of white space above it.
Stick em on: Just drape the white space of the sticker onto the back of your packaging and BOOM. Super professional packaging.
That's it! Just add your awesome product + send your happy mail on its way.
Side notes: This is a gazillion times easier than trying to print directly on a mailer. Stamps like it FLAT and HARD. (— umm… that’s what she said?) , so a single sticker is much easier to get a great print from. You also only waste one sticker if your print isn’t quite as nice.. a heck of a lot less painful (and more earth-friendly) than ruining a mailer.
Extra Tip:
Try making a bunch of stickers at a time so you've got them ready to go. I've found it’s not *nearly* as fun to package when I have to stop and stamp a sticker every time I pack up a mailer!
This is also a great way to cover up a ruined mailer if you’ve already messed some up. Don’t worry, we’ve all been there!
Don’t have a logo yet? I’ve got you covered. I can even set you up with a digital copy to use for your social media, blog, website, etc!
Happy stamping, friends!!!
*Full Disclosure: This post contains affiliate links to products I’ve researched & believe will work best for this project. Where possible, it also includes non-affiliate links to small businesses I love.